Your Complete Installation Guide

What to Expect When You Get a Heat Pump Installed

No surprises, no guesswork. Here is exactly what happens from your first call through to the specialist I recommend walking out your door after a finished install, including what you need to do to get ready.

Usually booked within 2 weeks In and out same day for high wall Cleans up after himself Full walkthrough before he leaves
Heat pump installer fitting a high wall unit in a Central Auckland home

From First Call to Finished Install

Here is the complete process, step by step, so you know exactly what to expect.

1
Day 1 — 5 minutes

You call or fill in the form

Call 09 243 0791 or fill in the quote form on this page. Tell me about your home and what you need, and I'll match you with the specialist I recommend in Mt Eden.

I'll ask a few quick questions about the type of unit you're after, which room you want heated or cooled, and whereabouts in Mt Eden or Central Auckland you are. That helps me confirm he's the right fit and give you a rough ballpark before he visits.
2
Within a few days — 30 to 45 minutes

Free site visit and quote

My Mt Eden specialist comes to your home. He'll measure the room, check the wall where the indoor unit will go, find the best spot for the outdoor unit, and look at your switchboard. He'll flag anything that might add to the cost, long pipe runs, difficult access, that sort of thing.

You'll get a written quote before he leaves. No pressure to commit on the day.

He'll recommend the right brand and size for your room and your situation. If you're in an older Mt Eden villa, he'll know what the walls are like. If you're in an apartment, he'll check the boundary noise rules.
Be home for the visit and have access to the room and the area where the outdoor unit will go.
3
After you accept — same day

You accept the quote and book the install

Once you're happy with the quote, he books you in. Usually within 2 weeks. In peak season, winter and summer, it can stretch to 3 or 4 weeks. You'll get a specific date and a time window.

He orders your unit and has it on hand ready for install day. You don't need to source the heat pump yourself.
4
Install day — see system guide below for timings

Installation day

He arrives in the morning, confirms the plan with you, and gets to work. You don't need to hover over him, but you should be home in case any decisions come up during the job.

He'll mount the indoor unit, run the pipes, install the outdoor unit, connect the electrics, and commission the system. Before he leaves, he'll walk you through how to use the remote and answer any questions you have.

Most high wall installs are done in a single morning or afternoon. Your heat pump will be running before he drives away.
Be home, and have the area around the indoor and outdoor unit locations clear and accessible.
5
Same day — 15 minutes

Walkthrough and handover

Before he leaves, he'll walk you through the remote, explain the settings, and show you how to switch between heating and cooling modes. He'll tell you what filter cleaning looks like and how often it needs doing.

He handles all annual servicing on units he installs, so you know exactly who to call when your first service is due. Warranty is registered before he drives away.
6
Ongoing

12-month guarantee and manufacturer warranty

Your install is covered by a 12-month workmanship guarantee. If anything goes wrong because of how the job was done, he'll come back and fix it at no charge. The heat pump itself is covered by the manufacturer's warranty, typically 5 to 7 years depending on the brand.

Annual servicing keeps your warranty valid and your system running efficiently. He'll be in touch when it's time.

What Happens on Installation Day

Select your system type to see exactly what to expect. Timelines vary depending on what's being installed.

Typical install time: 4 to 6 hours. You'll have a running heat pump by the afternoon.
8–9
am

He arrives and sets up

He'll introduce himself, confirm the plan with you, and unload his gear. Takes about 15 minutes to get set up.

9–11
am

Indoor unit installation

The indoor unit goes up on the wall. The hole is drilled through, pipe run started. It's noisy for about 30 minutes during the drilling.

11am
–1pm

Outdoor unit and pipework

The outdoor unit is mounted, refrigerant lines are run, brazed, and pressure tested before anything is switched on.

1–2
pm

Electrical connection and commissioning

The registered electrician signs off. System switched on, tested, and dialled in for your room size.

2
pm

Tidy up and handover

He vacuums up, takes all packaging with him, and walks you through the remote. Your heat pump is running before he leaves.

What to expect

There will be some noise when the hole is drilled through the wall, usually 20 to 30 minutes, and a small amount of dust. He brings everything he needs and cleans up before he leaves.

You don't need to hover, but be home in case any decisions need to be made. The heat pump will be running before he leaves.
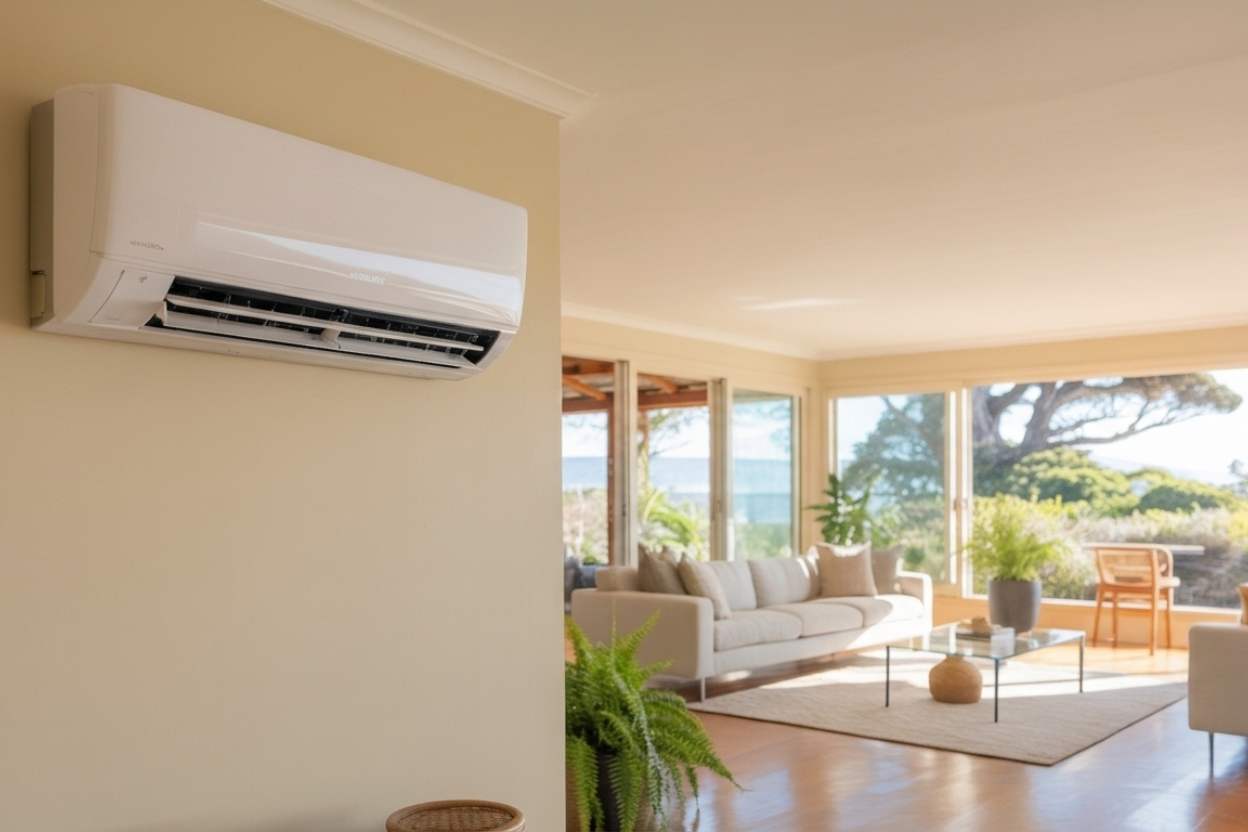
High wall heat pump installation in a Mt Eden home
Typical install time: 1 full day. More rooms, more pipe runs, more testing.
8–9
am

Arrival and setup

He arrives, confirms unit positions in each room with you, and starts unpacking. More gear than a single unit install.

9am
–12pm

Multiple indoor units installed

Each indoor unit goes up in turn. Holes drilled, pipe runs started for each room. More drilling than a high wall install, but spread across the morning.

12–2
pm

Outdoor unit and all pipe connections

The single outdoor unit is mounted and all refrigerant lines from each indoor unit are run and connected. Lines brazed and pressure tested together.

2–4
pm

Electrical work and commissioning

Electrical connections made to all indoor units and the outdoor unit. Each room tested independently to confirm correct operation.

4
pm

Tidy up and full walkthrough

All rooms vacuumed and packaging removed. He walks you through controlling each zone individually and the whole system together.

What to expect

A multi-room install is busier than a high wall, more drilling, more pipe runs, more rooms involved throughout the day. Plan for him to be moving in and out of several rooms.

Make sure all rooms where indoor units are going are accessible and clear before he arrives. The job typically wraps up by late afternoon.
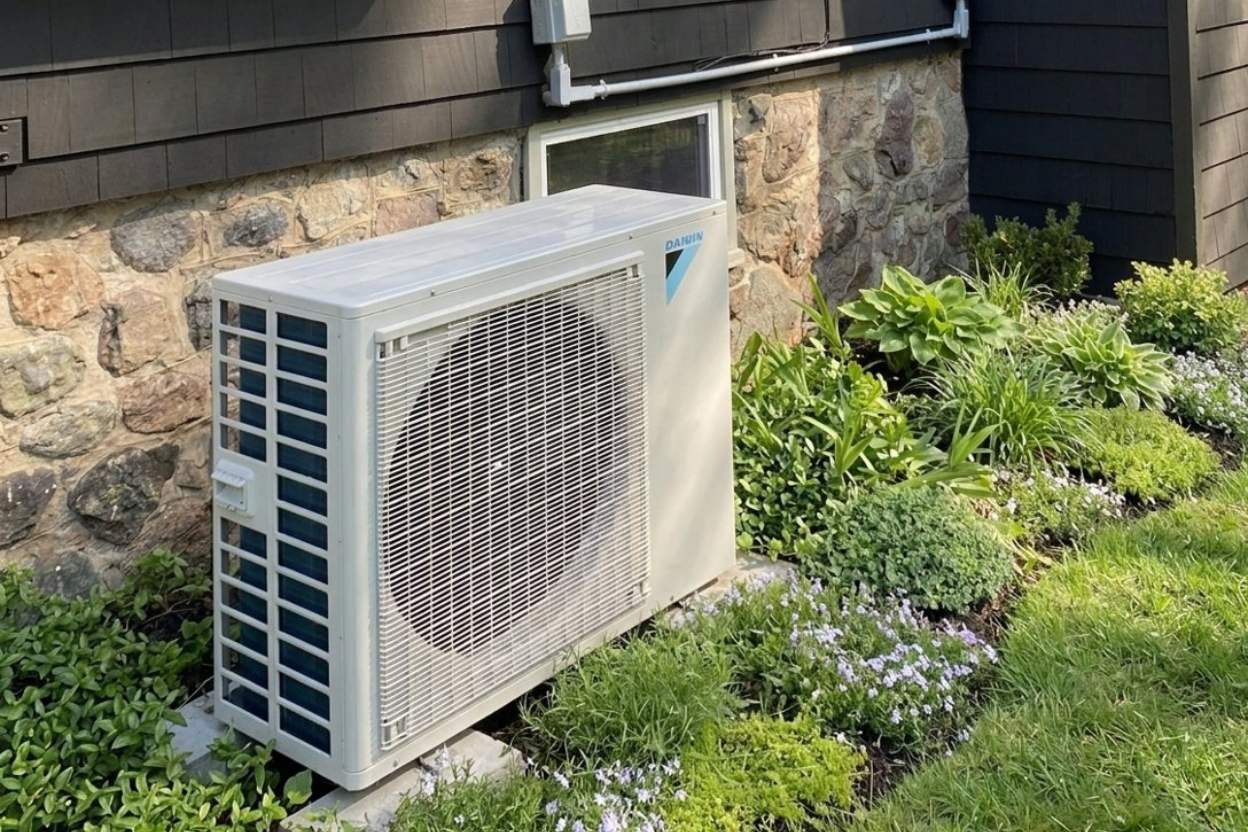
Multi room heat pump installation in a Central Auckland home
Typical install time: 2 to 3 days. The most involved installation, but the cleanest result.
Day
1
am

Ceiling access and duct installation begins

He gets into the ceiling cavity and starts running ductwork to each room. The indoor unit is positioned and mounted in the ceiling space.

Day
1
pm

Ceiling vents cut and fitted

The return air grille and supply vents are cut into the ceiling and fitted flush. This is the visible part of the system, the only thing you'll see when it's done.

Day
2
am

Outdoor unit installed and refrigerant lines run

The outdoor compressor is mounted, refrigerant lines run from outside to the indoor unit in the ceiling, brazed and pressure tested.

Day
2
pm

Electrical work and first commissioning

Electrical connections completed and signed off. System powered on for the first time and initial airflow checks done in each room.

Day
3

Zoning, balancing and final handover

Airflow is balanced across all zones, dampers adjusted, temperature output checked in each room. Full walkthrough of the controller and zone settings with you before he leaves.

What to expect

Ducted is the most involved installation. Plan for 2 to 3 days of access across multiple areas of your home, including the ceiling cavity. There will be some ceiling dust on Day 1 from the vent cuts.

Roof cavity access is needed throughout. If your home has a particularly tight crawl space, he will have flagged this during the site visit.

By the time he leaves on Day 3, the system is fully commissioned, every room is balanced, and the only sign of the visit is ceiling vents where there were none before.
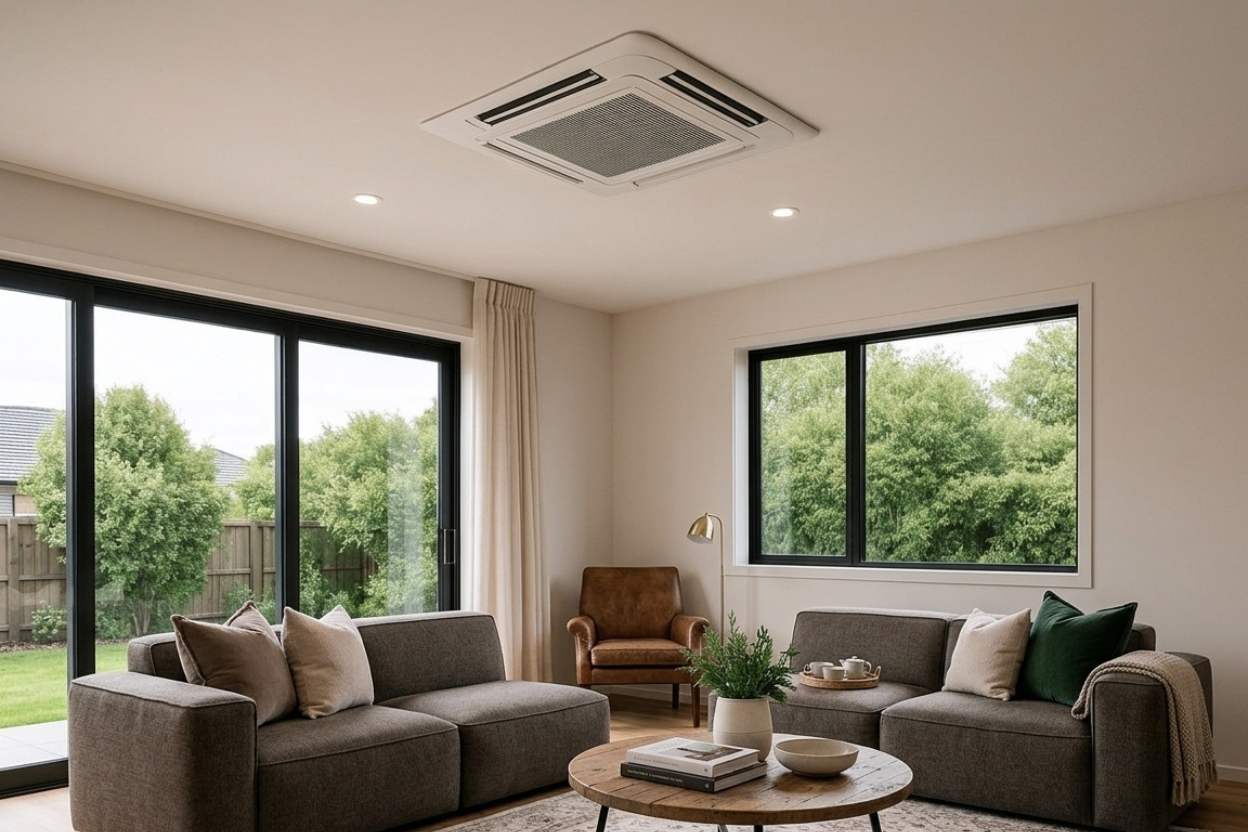
Ducted heat pump installation in a Central Auckland home

How to Prepare for Installation Day

There's not much to do, but these things make the day run smoother for everyone.

Inside the house

  • Clear the area under and around where the indoor unit is going, about 1 metre of clear floor space
  • Move any furniture that is directly against the wall where the unit is being mounted
  • Take down any wall hangings near the install location
  • Make sure he can access your switchboard or meter box
  • Put pets somewhere they won't be in the way during the noisy parts

Outside the house

  • Clear the area where the outdoor unit is going, as confirmed during the site visit
  • Move any garden furniture, pot plants, or obstacles near the outdoor unit location
  • Make sure there's clear access around the side of the house
  • If you have a dog or a locked gate, make sure he can get through safely
  • Let your neighbours know if the outdoor unit is going near their boundary

After the Installation

Your heat pump is in. Here is what happens next to make sure you're set up properly for the long term.

Warranty registration

He registers your manufacturer warranty before he leaves. You'll get confirmation by email. The warranty typically runs 5 to 7 years depending on the brand. Keep the paperwork somewhere safe.

Servicing introduction

My Mt Eden specialist handles all annual servicing on units he installs. Your warranty stays valid and your system runs efficiently. You'll know exactly who to call when your first service is due.

12-month workmanship guarantee

If anything goes wrong because of how the job was done, call me and he'll come back and fix it at no charge. No runaround, no questions asked. The guarantee runs for 12 months from the installation date.

Takes everything with him

All packaging, offcuts, and waste leave with him. Nothing left in your driveway, nothing piled up in the garden. The area is vacuumed before he goes.

Gary's note on cleanup

I've seen too many jobs over the years where the installer left plaster dust on the carpet and cardboard in the driveway. The specialist I recommend in Mt Eden cleans up properly before he leaves, every time. When he goes, the only way you'll know he was there is that your house is finally the right temperature.

Questions People Ask Before Their Install

Straightforward answers to the things I get asked most often.

Yes, someone needs to be home. He needs access to the room where the indoor unit is going, and the exterior wall or ceiling space where the pipes run. Most homeowners stay home for the day. It takes 4 to 6 hours for a standard high wall install.

A small hole is drilled through the wall for the pipe and electrical connections. The entry point is sealed and finished. The specialist I recommend patches and tidies the penetration before he leaves. Most customers can't tell where the hole was drilled once he's done.

Clear a metre of space around where the indoor unit will go and around the outdoor unit location agreed on the site visit. Make sure there's parking close to the house. That's it. He brings everything else.

Immediately. He commissions the unit before he leaves and runs through the controls with you. Your home will be warm or cool that same evening.